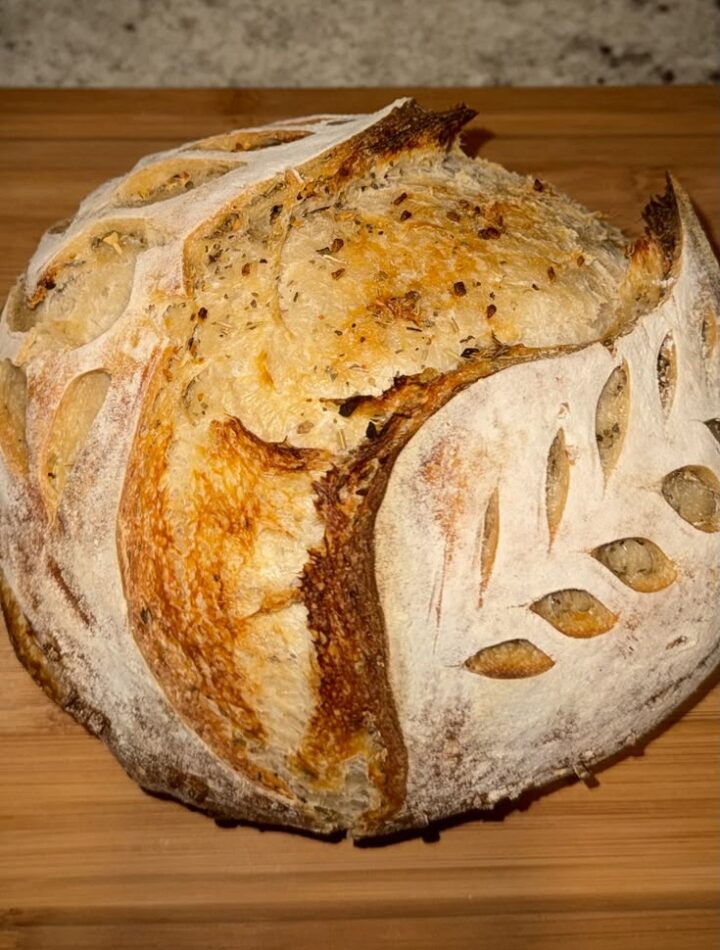
There’s something deeply satisfying about baking your own sourdough bread—the crackle of the crust, the tangy aroma, and the soft, airy crumb inside. This Rustic Golden Crust Sourdough recipe is perfect for both beginners and experienced bakers who want a classic artisan loaf with a beautifully crisp exterior and rich flavor.
Ingredients
- 500g bread flour (or all-purpose flour)
- 350ml water (room temperature)
- 100g active sourdough starter (fed and bubbly)
- 10g salt
Instructions
Step 1: Mix the Dough
In a large mixing bowl, combine the flour and water. Stir until no dry flour remains. The dough will look rough and slightly sticky—this is perfectly normal. Cover the bowl with a damp cloth and let it rest for 30 minutes. This step is called autolyse, and it helps develop gluten naturally.
Step 2: Add Starter and Salt
After the rest period, add your active sourdough starter and salt to the dough. Mix everything together using your hands. Pinch and fold the dough until the ingredients are fully incorporated. The dough should become smoother but still slightly sticky.
Step 3: Bulk Fermentation
Cover the bowl and let the dough rise at room temperature for 4–5 hours. During this time, perform stretch-and-folds every 30–45 minutes (about 4 times total). To do this, gently pull one side of the dough up and fold it over itself. Rotate the bowl and repeat on all sides. This strengthens the dough and builds structure.
As the dough ferments, it will become smoother, more elastic, and slightly puffed up.
Step 4: Pre-shaping
Once the bulk fermentation is complete, turn the dough out onto a lightly floured surface. Gently shape it into a loose round. Let it rest uncovered for 20–30 minutes. This allows the gluten to relax, making final shaping easier.
Step 5: Final Shaping
After resting, shape the dough into a tight round or oval loaf. Pull the edges into the center to create surface tension, then flip it over so the seam side is down. Use your hands to gently tighten the shape.
Place the dough into a floured proofing basket or bowl lined with a floured cloth, seam side up.
Step 6: Final Proof
Cover and let the dough proof in the refrigerator overnight (8–12 hours). This slow fermentation enhances flavor and helps develop that signature tangy sourdough taste.
Step 7: Preheat the Oven
The next day, preheat your oven to 230°C (450°F) with a Dutch oven inside. Preheating the Dutch oven ensures a crispy crust.
Step 8: Score and Bake
Carefully turn the dough onto parchment paper. Using a sharp blade or knife, score the top of the loaf. This allows the bread to expand while baking.
Transfer the dough into the hot Dutch oven, cover with the lid, and bake for 20 minutes. Then remove the lid and bake for another 20–25 minutes until the crust is deep golden brown.
Step 9: Cool Before Slicing
Remove the bread from the oven and let it cool on a wire rack for at least 1 hour. This step is important because the interior continues to cook and set as it cools.
Tips for Success
- Make sure your sourdough starter is active and bubbly before using it. This is key for proper fermentation.
- If your kitchen is cold, fermentation may take longer. Be patient and watch the dough rather than the clock.
- Don’t skip the overnight proof—it adds incredible flavor and texture.
- Use a Dutch oven if possible, as it traps steam and creates that signature crispy crust.
Serving Suggestions
This Rustic Golden Crust Sourdough pairs beautifully with butter, olive oil, or your favorite spreads. It’s perfect for sandwiches, toast, or served alongside soups and stews. The crunchy crust and soft interior make it a versatile and satisfying homemade bread.