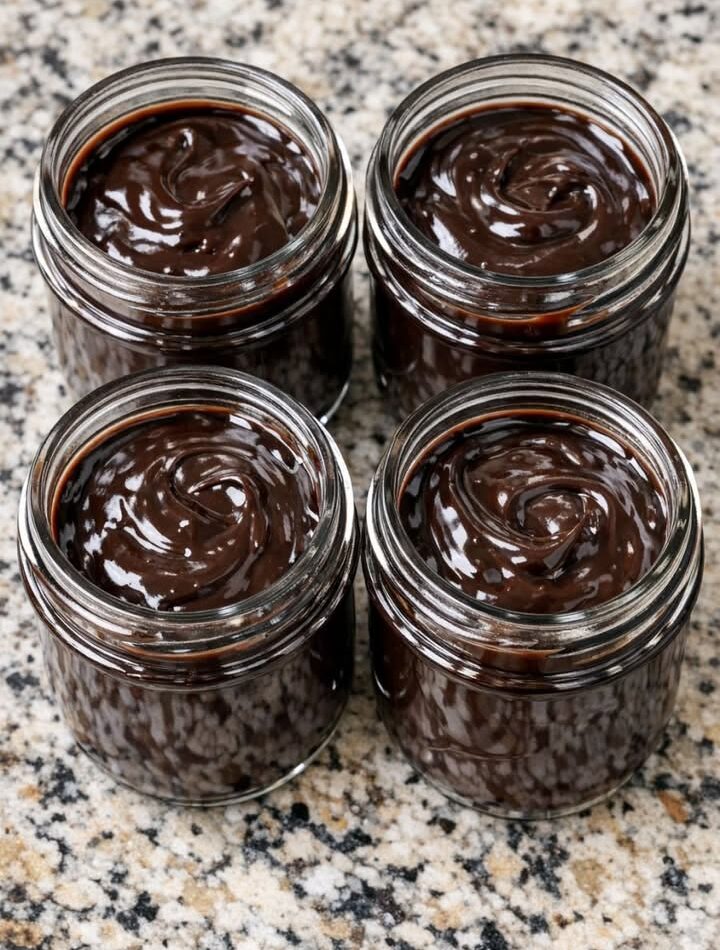
If you love cheesecake but want a healthier, protein-packed version you can enjoy anytime, this High-Protein Cheesecake Jar recipe is the perfect solution. These creamy dessert jars are rich, satisfying, and easy to prepare with simple ingredients. They are ideal for breakfast, post-workout snacks, meal prep, or guilt-free desserts. Best of all, they taste just like classic cheesecake while delivering a boost of protein in every spoonful.
These cheesecake jars combine Greek yogurt, cream cheese, and protein powder to create a smooth and luscious filling layered with crunchy biscuit crumbs and fresh fruit. You can customize the flavors endlessly, making them one of the most versatile healthy treats you can make at home.
Why You’ll Love This Recipe
High-protein cheesecake jars are popular because they are:
- Easy to make with no baking required
- Rich and creamy like traditional cheesecake
- Packed with protein for better satiety
- Perfect for meal prep
- Customizable with different toppings and flavors
- Lower in sugar than classic cheesecake
- Great for healthy desserts or snacks
Each jar contains a balanced combination of protein, healthy fats, and carbohydrates, making it a filling option compared to regular desserts.
Ingredients
This recipe makes 4 medium cheesecake jars.
For the Crust
- 1 cup crushed graham crackers or digestive biscuits
- 2 tablespoons melted butter
- 1 tablespoon honey or maple syrup
For the Cheesecake Filling
- 1 cup low-fat cream cheese, softened
- 1 ½ cups plain Greek yogurt
- 2 scoops vanilla protein powder
- 3 tablespoons honey or maple syrup
- 1 teaspoon vanilla extract
- 1 tablespoon lemon juice
Toppings
Choose your favorites:
- Fresh strawberries
- Blueberries
- Crushed nuts
- Chocolate chips
- Caramel drizzle
- Crushed cookies
- Berry sauce
- Whipped cream
Equipment Needed
- Mixing bowls
- Hand mixer or whisk
- Measuring cups and spoons
- 4 glass jars or dessert cups
- Spoon or spatula
Step-by-Step Instructions
Step 1: Prepare the Crust
In a medium bowl, combine the crushed graham crackers, melted butter, and honey. Mix until the crumbs resemble wet sand.
Spoon about 2 tablespoons of the mixture into the bottom of each jar. Press lightly using the back of a spoon to create a firm crust layer.
Place the jars in the refrigerator while preparing the filling.
Step 2: Make the Cheesecake Filling
In a large bowl, beat the softened cream cheese until smooth and creamy. This helps remove lumps and creates the classic cheesecake texture.
Add the Greek yogurt, protein powder, honey, vanilla extract, and lemon juice. Mix until fully combined and silky smooth.
The filling should be thick, creamy, and spoonable. If it feels too thick, add 1–2 tablespoons of milk.
Step 3: Assemble the Cheesecake Jars
Remove the jars from the refrigerator.
Spoon or pipe the cheesecake filling evenly into each jar over the crust layer. Smooth the tops with a spoon.
Add your desired toppings. Fresh berries work beautifully because they add freshness and natural sweetness.
Step 4: Chill
Refrigerate the jars for at least 2 hours before serving. This allows the cheesecake mixture to firm up and develop flavor.
For the best texture, chill overnight.
Tips for the Best Cheesecake Jars
Use Full-Flavored Protein Powder
Vanilla protein powder works best because it adds sweetness and enhances the cheesecake flavor. Choose a protein powder you already enjoy drinking.
Soften the Cream Cheese
Cold cream cheese can leave lumps in the filling. Allow it to sit at room temperature for about 30 minutes before mixing.
Adjust Sweetness
Taste the filling before assembling. Add extra honey or maple syrup if you prefer a sweeter dessert.
Chill Properly
The chilling step is important. It helps the jars become thicker and creamier.
Layer Creatively
You can create multiple layers of crust, filling, and fruit for a beautiful presentation.
Flavor Variations
One of the best things about cheesecake jars is how easy they are to customize.
Chocolate Cheesecake Jar
Add 2 tablespoons cocoa powder to the filling and top with chocolate chips.
Strawberry Cheesecake Jar
Mix chopped strawberries into the filling and top with strawberry sauce.
Peanut Butter Cheesecake Jar
Add 2 tablespoons peanut butter to the filling for a rich nutty flavor.
Lemon Cheesecake Jar
Increase the lemon juice and add lemon zest for a refreshing citrus version.
Cookies and Cream
Mix crushed chocolate sandwich cookies into the filling.
Storage Instructions
Store the cheesecake jars covered in the refrigerator for up to 4 days.
These jars are perfect for meal prep because they maintain their creamy texture well.
Freezing is possible, but the texture may change slightly after thawing.
Nutritional Benefits
These cheesecake jars are much healthier than traditional cheesecake.
High in Protein
Greek yogurt and protein powder provide a significant protein boost, helping support muscle recovery and fullness.
Lower in Sugar
Using natural sweeteners allows you to control the sugar content.
Calcium-Rich
Greek yogurt and cream cheese contain calcium, which supports bone health.
Portion-Controlled
Serving the cheesecake in jars helps prevent overeating.
- As a healthy dessert
- After workouts
- For breakfast
- At parties
- During summer gatherings
- As a grab-and-go snack
Serve chilled straight from the refrigerator for the best flavor and texture.
Frequently Asked Questions
Can I Use Cottage Cheese Instead of Cream Cheese?
Yes. Blend cottage cheese until smooth for a lighter, higher-protein option.
What Protein Powder Works Best?
Vanilla whey or casein protein powder usually gives the creamiest texture.
Can I Make It Dairy-Free?
Yes. Use dairy-free yogurt, vegan cream cheese, and plant-based protein powder.
Are Cheesecake Jars Good for Weight Loss?
They can fit into a balanced diet because they are high in protein and portion-controlled.