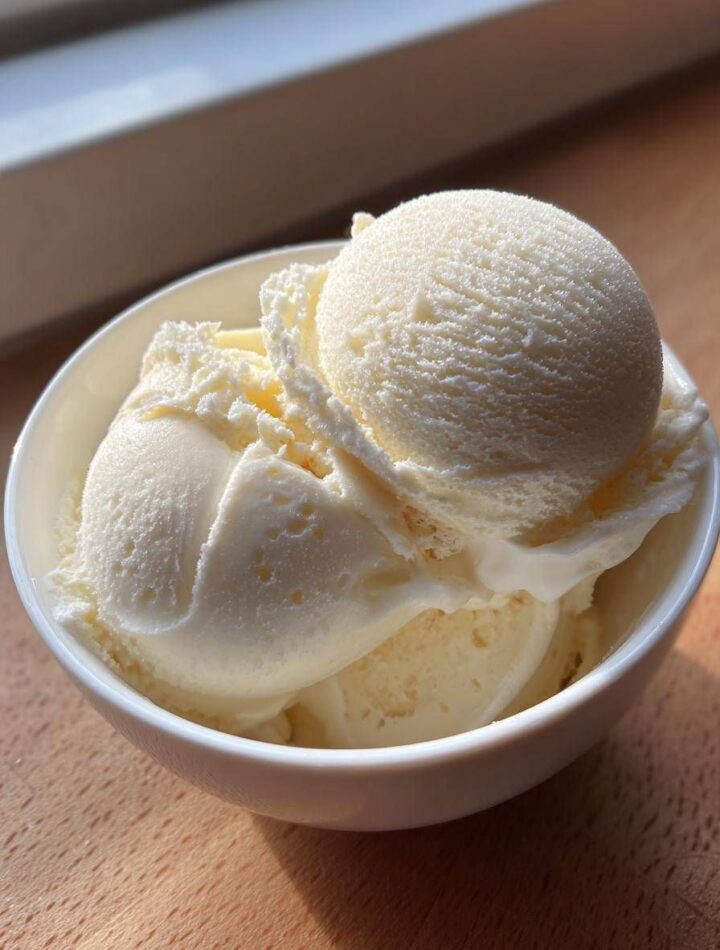
There’s something timeless and comforting about homemade vanilla ice cream. Smooth, creamy, and rich with real vanilla flavor, it’s a dessert that never goes out of style. Whether served in a cone on a hot summer day, alongside warm brownies, or topped with fresh fruit, vanilla ice cream is the perfect classic treat. Making it at home may sound complicated, but with a few simple ingredients and a little patience, you can create an ice cream that tastes far better than most store-bought versions.
This recipe produces a luxurious and creamy vanilla ice cream with a rich custard base. The texture is silky smooth, and the flavor is deep and authentic thanks to real vanilla extract. If you own an ice cream maker, the process becomes even easier, but tips for freezing without a machine are included as well.
Why You’ll Love This Recipe
- Rich and creamy texture
- Made with simple pantry ingredients
- Real vanilla flavor
- Better than store-bought ice cream
- Perfect base for mix-ins and toppings
Homemade vanilla ice cream is also incredibly versatile. Once you master the basic recipe, you can customize it with chocolate chips, cookie crumbles, caramel swirls, nuts, or fruit.
Ingredients
Here’s everything you need to make homemade vanilla ice cream:
- 2 cups heavy cream
- 1 cup whole milk
- ¾ cup granulated sugar
- 1 tablespoon pure vanilla extract
- 5 large egg yolks
- Pinch of salt
Optional Add-Ins
- Crushed cookies
- Chocolate chips
- Caramel sauce
- Fresh strawberries or blueberries
- Chopped nuts
Equipment Needed
- Medium saucepan
- Mixing bowls
- Whisk
- Fine mesh strainer
- Ice cream maker
- Freezer-safe container
If you don’t have an ice cream maker, don’t worry. You can still make delicious ice cream using the no-churn freezing method described later.
Step 1: Heat the Cream and Milk
In a medium saucepan, combine the heavy cream, whole milk, and half of the sugar. Place the saucepan over medium heat and stir gently until the mixture becomes warm and the sugar dissolves completely.
Do not let the mixture boil. You only want it heated enough to create steam and warmth.
Add the pinch of salt and stir.
Step 2: Prepare the Egg Yolks
In a separate mixing bowl, whisk together the egg yolks and the remaining sugar. Continue whisking until the mixture becomes pale yellow and slightly thickened.
This step helps create the rich custard base that gives traditional ice cream its creamy texture.
Step 3: Temper the Eggs
Tempering prevents the eggs from scrambling.
Slowly pour a small amount of the warm cream mixture into the egg yolks while whisking constantly. Continue adding more warm liquid gradually until the eggs are warmed up.
Once combined, pour the egg mixture back into the saucepan.
Step 4: Cook the Custard
Place the saucepan back over low to medium heat. Stir continuously with a wooden spoon or spatula until the custard thickens slightly.
The custard is ready when it coats the back of a spoon. If you run your finger through the coating, it should leave a clear line.
Avoid boiling the mixture, as high heat can curdle the eggs.
Step 5: Add Vanilla
Remove the saucepan from the heat and stir in the vanilla extract.
For even deeper flavor, you can use a vanilla bean instead of extract. Simply split the bean, scrape out the seeds, and add both the seeds and pod while heating the milk and cream.
Step 6: Chill the Mixture
Pour the custard through a fine mesh strainer into a clean bowl. This removes any tiny cooked egg bits and ensures a silky smooth texture.
Cover the bowl and refrigerate for at least 4 hours, preferably overnight. A fully chilled base creates creamier ice cream.
Step 7: Churn the Ice Cream
Once chilled, pour the mixture into your ice cream maker and churn according to the manufacturer’s instructions. Most machines take about 20–25 minutes.
The ice cream should resemble soft-serve when finished.
If adding mix-ins like chocolate chips or cookie pieces, stir them in during the last few minutes of churning.
Step 8: Freeze Until Firm
Transfer the churned ice cream into a freezer-safe container. Smooth the top with a spoon or spatula.
Cover tightly and freeze for at least 4 hours or until firm enough to scoop.
No Ice Cream Maker Method
If you don’t own an ice cream maker, you can still make homemade vanilla ice cream.
After chilling the custard:
- Pour it into a shallow freezer-safe dish.
- Freeze for 45 minutes.
- Remove and stir vigorously with a fork or whisk to break up ice crystals.
- Repeat every 30–45 minutes for about 3–4 hours.
This method requires more effort but still creates a creamy and delicious result.
Tips for the Best Vanilla Ice Cream
Use High-Quality Vanilla
Since vanilla is the star flavor, use pure vanilla extract instead of imitation flavoring.
Chill Everything
Cold custard churns better and freezes faster, leading to smoother ice cream.
Don’t Skip the Salt
A small pinch enhances the sweetness and balances the flavor.
Store Properly
Keep ice cream in an airtight container to prevent freezer burn.
Let It Soften Before Scooping
Homemade ice cream freezes harder than commercial brands. Let it sit at room temperature for 5 minutes before serving.
Delicious Serving Ideas
Homemade vanilla ice cream pairs beautifully with many desserts and toppings:
- Warm chocolate brownies
- Apple pie
- Fresh berries
- Chocolate syrup
- Caramel sauce
- Crushed cookies
- Waffle cones
You can also turn it into milkshakes, ice cream sandwiches, or sundaes.
Storage Instructions
Store homemade vanilla ice cream in the freezer for up to 2 weeks for the best texture and flavor.
Place a layer of plastic wrap directly on the surface before sealing the container. This helps prevent ice crystals from forming.