🧾 Ingredients:
- 2 cups heavy cream
- 1 cup whole milk
- ¾ cup granulated sugar
- 1 tablespoon pure vanilla extract
- 1 vanilla bean (optional, but recommended for rich flavor)
- 5 large egg yolks
- A pinch of salt
🥣 Step-by-Step Instructions
1. Prepare the Vanilla Base
Start by pouring the heavy cream and whole milk into a medium saucepan. If you’re using a vanilla bean, slice it lengthwise and scrape out the seeds. Add both the seeds and the pod into the mixture. Heat this over medium heat until it begins to steam, but don’t let it boil. This step helps infuse the milk with deep vanilla flavor.
If you’re skipping the vanilla bean, you’ll add vanilla extract later, so don’t worry.
2. Whisk the Egg Yolks and Sugar
In a separate mixing bowl, whisk together the egg yolks, sugar, and a pinch of salt. Keep whisking until the mixture becomes pale yellow and slightly thickened. This process is important because it creates a smooth custard base that gives ice cream its creamy texture.
3. Temper the Eggs
Now comes a crucial step: tempering. Slowly pour a small amount of the warm milk mixture into the egg mixture while whisking constantly. This prevents the eggs from scrambling.
Gradually add more of the warm liquid until about half has been incorporated. Then pour the entire mixture back into the saucepan.
4. Cook the Custard
Place the saucepan back on low heat. Stir constantly with a wooden spoon or spatula. The mixture will begin to thicken slightly.
You’ll know it’s ready when it coats the back of a spoon. Run your finger across the spoon—if the line stays clear, the custard is done. Avoid overheating, as this can curdle the eggs.
5. Strain and Cool
Remove the saucepan from heat. If you used a vanilla bean, remove the pod. Then strain the mixture through a fine mesh sieve into a clean bowl. This ensures a silky-smooth texture.
If you didn’t use a vanilla bean, stir in the vanilla extract at this stage.
Let the custard cool to room temperature, then cover and refrigerate for at least 4 hours or overnight. Chilling is essential for proper churning.
6. Churn the Ice Cream
Once the mixture is fully chilled, pour it into your ice cream maker. Churn according to the manufacturer’s instructions. Typically, this takes about 20–25 minutes.
During churning, air gets incorporated, giving the ice cream its light and creamy consistency.
7. Freeze Until Firm
After churning, the ice cream will have a soft-serve texture. Transfer it into an airtight container and freeze for at least 3–4 hours, or until firm.
🍨 Serving Suggestions
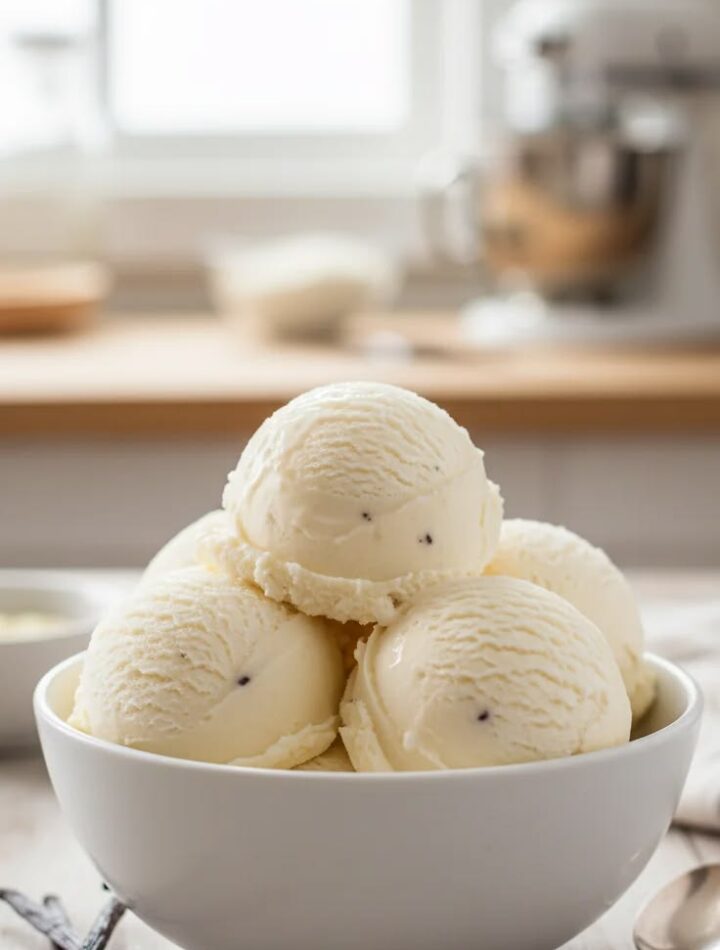
Serve your homemade vanilla ice cream in bowls or cones. You can top it with:
- Chocolate syrup
- Fresh fruits like strawberries or mangoes
- Crushed cookies or nuts
- Caramel drizzle
Vanilla ice cream is also perfect alongside warm desserts like brownies, pies, or cakes.
💡 Tips for Perfect Ice Cream
- Use high-quality ingredients: Fresh cream and pure vanilla extract make a noticeable difference.
- Don’t skip chilling: A well-chilled base churns better and results in smoother ice cream.
- Avoid overcooking: Custard should thicken gently, not boil.
- Experiment with flavors: Once you master vanilla, you can add chocolate chips, fruit purees, or coffee.
❄️ Storage Tips
Store your ice cream in an airtight container in the freezer. To prevent ice crystals, press a piece of parchment paper or plastic wrap directly onto the surface before sealing.
Homemade ice cream is best enjoyed within 1–2 weeks for optimal flavor and texture.
🍦 Final Thoughts
Making vanilla ice cream at home might seem like a long process, but each step plays an important role in achieving that rich, creamy texture and authentic flavor. Once you try it, you’ll notice how much better it tastes than store-bought versions.
Plus, it’s a great base recipe—you can customize it endlessly to create your own signature flavors.
If you want, I can also give you a no-machine version or eggless vanilla ice cream recipe 😊